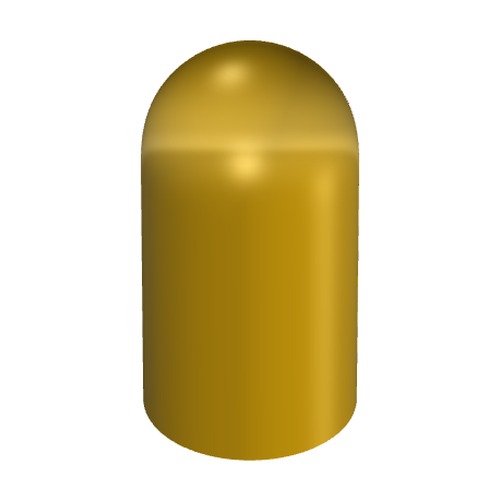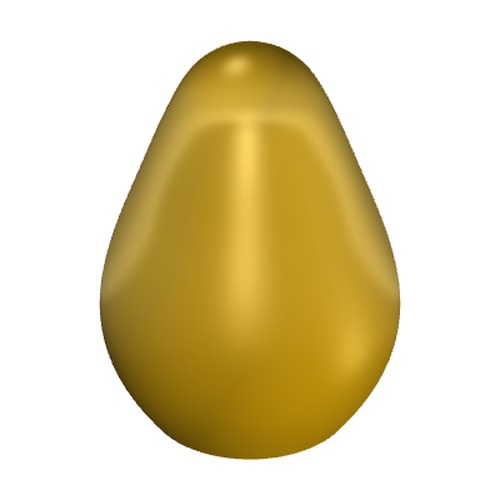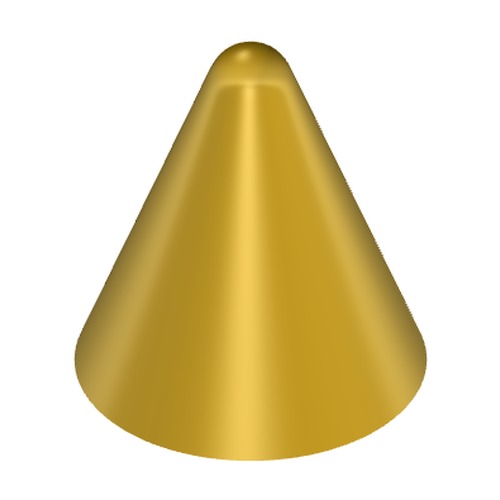
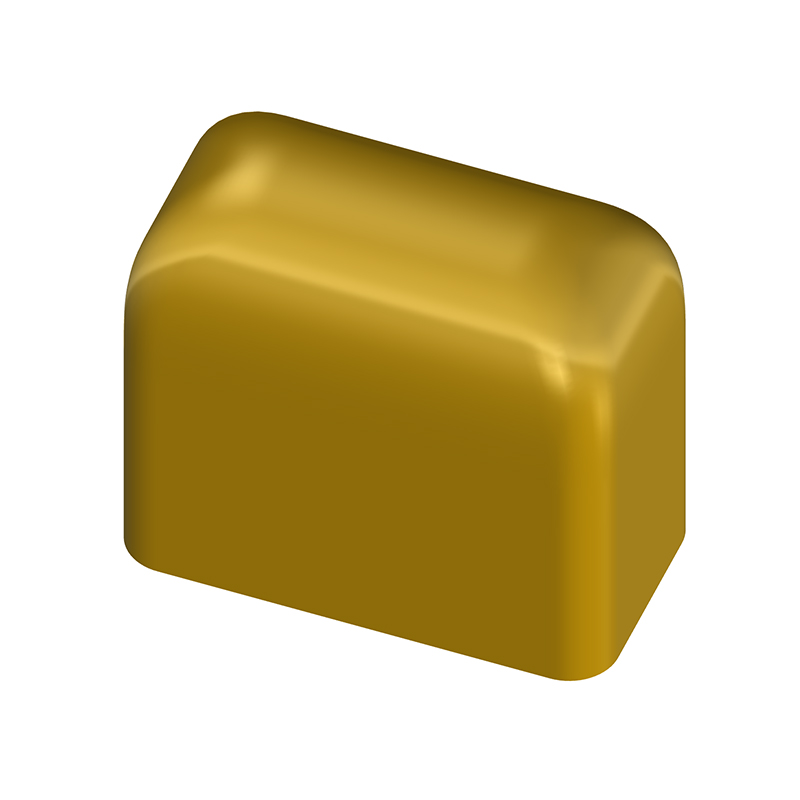
a. Three edges, only one blended
I have been an avid Rhino user for the last 10+ years, and when you use the same tool for that long, you can't help but notice the repetitiveness of building certain surfaces. FilletEdge is too circular and BlendEdge is too pointy. The usual workaround is to build each edge and surface by hand with BlendSrf, which is SLOW. Some surfaces are straight up hard (ie. domes on non-radial extrusion, tri-pipes), and industrial designers come across these kinds of surfaces on a daily basis. By now, you would think someone has found a way to automate these, right?
I am developing a Rhino surfacing tool as an industrial designer for industrial designers. With the advancement of technologies, I now can realize what I have envisioned for a long time by directing an AI coding partner, Claude (Claude Code in VS Code with MCP Connection to Rhino 8). This is a WIP project with many features in the works.
Methodology: through years of training, I can create and recognize good surfaces. I teach Claude the basic curvature continuous fillet and dome. I prompt primitives, general build, and edge cases so I can judge each result. Claude writes and tests the Python against my Rhino file, measuring every seam numerically before showing the best result. Every rule below came out of that loop of handmade examples, AI learning, and iterative revisions between me and Claude.
Last Updated: 2026-11-07
Current Version: 0.1.1-alpha
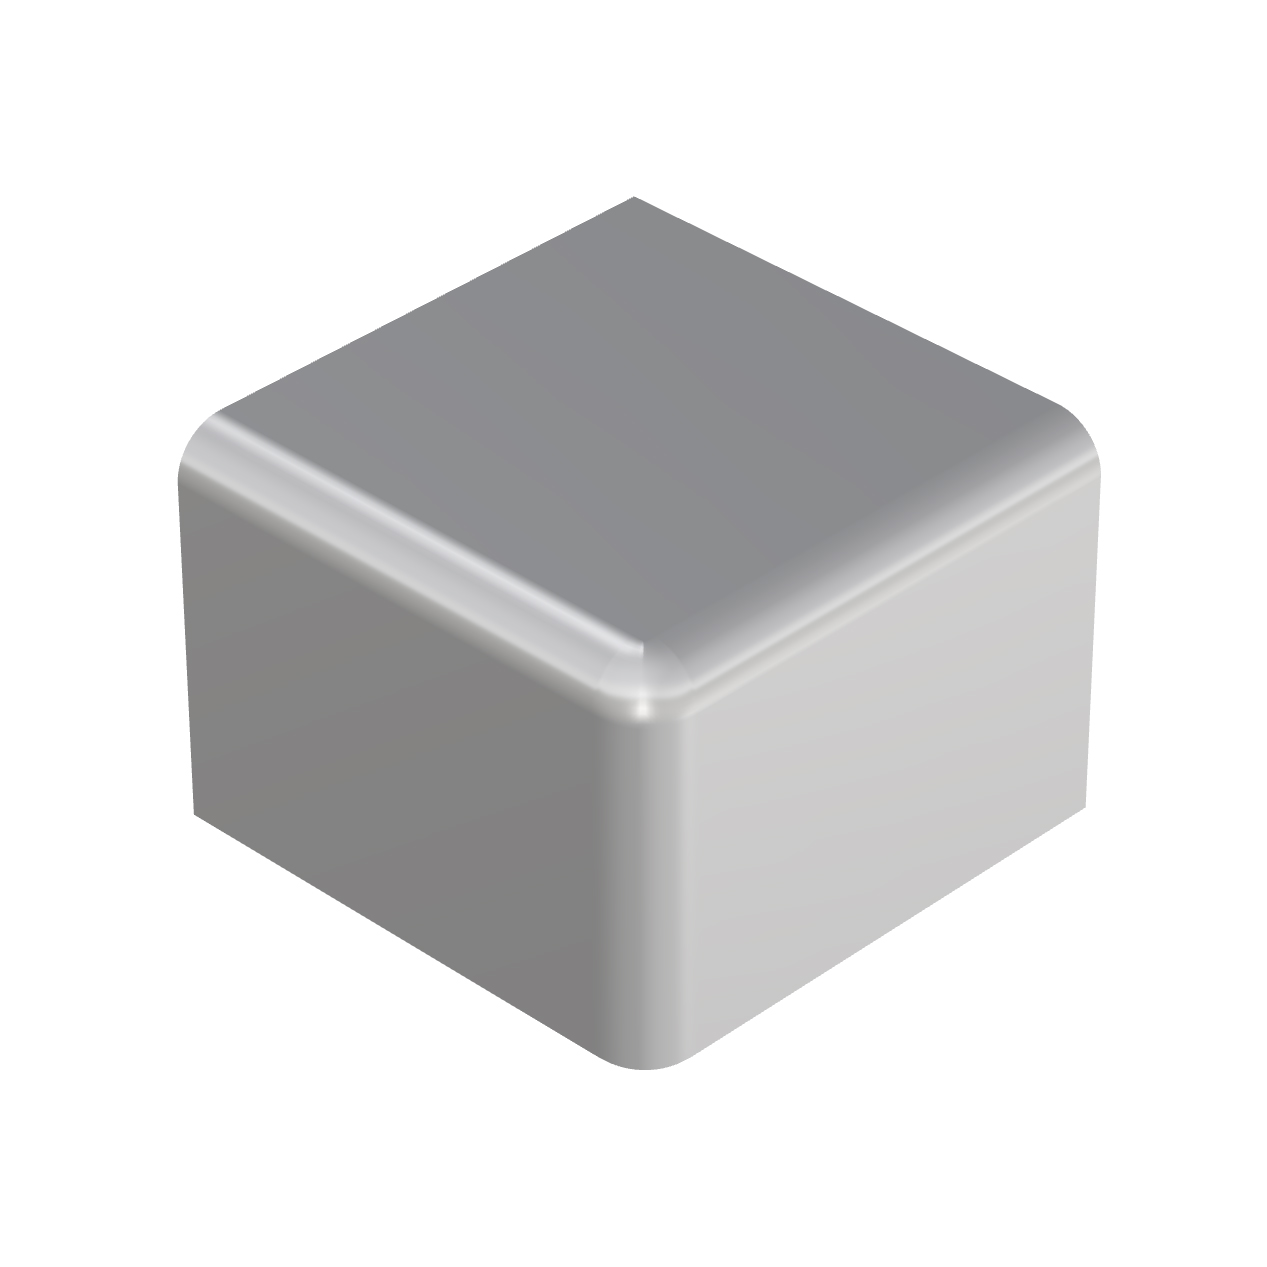
Rounds sharp edges with curvature-continuous (G2) blends instead of ordinary fillets. Each blend is sized to look like a fillet of input radius or a setback of input value. Existing blends can be edited through this command (history).


The G2 blend is a degree-5 curve with three control points in a line along each face, so its curvature starts at exactly zero and rises smoothly. I wanted it to resemble the fillet of a size visually. A "5 mm" G2 blend is about 6.1 mm wide on each side to allow for a smooth transition.
Every other shape (pyramids, cylinders, cones, tubes, solids of revolution, corners where blends meet) builds on this one profile.

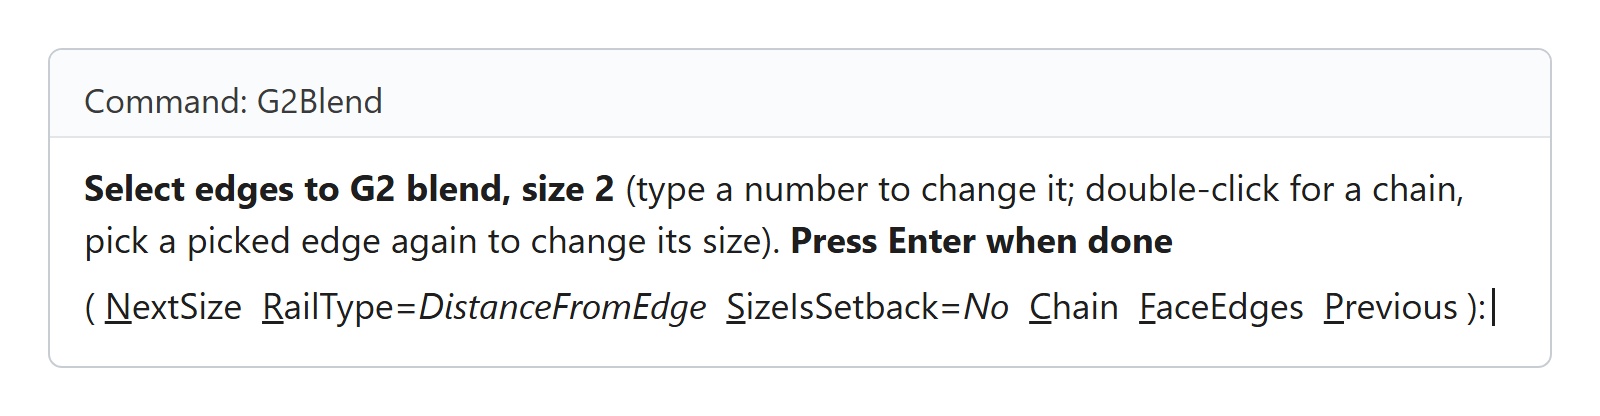
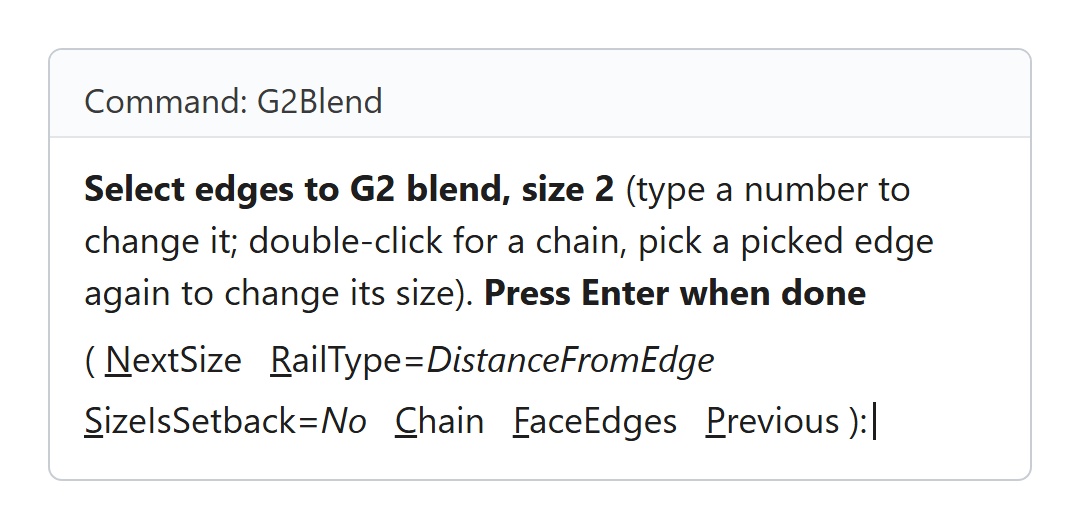
G2Blend works like FilletEdge: type a size, pick edges, press Enter. Picked edges are highlighted the way Rhino highlights a selection, with each edge's size shown in a label beside it.
Double-click picks a whole chain of edges, and each edge can have its own size.
Most of the work is in the corners, where blends run into each other. Every case below is built automatically from the edges the user picks:
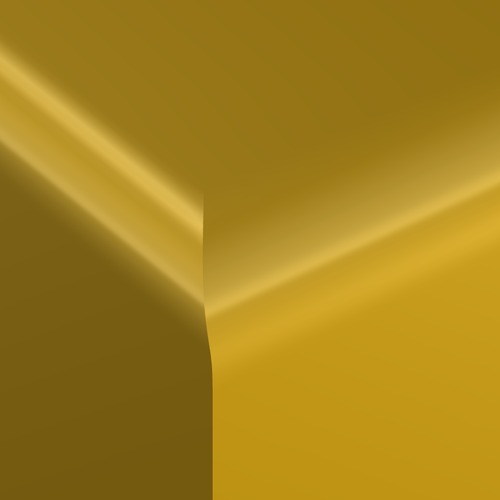
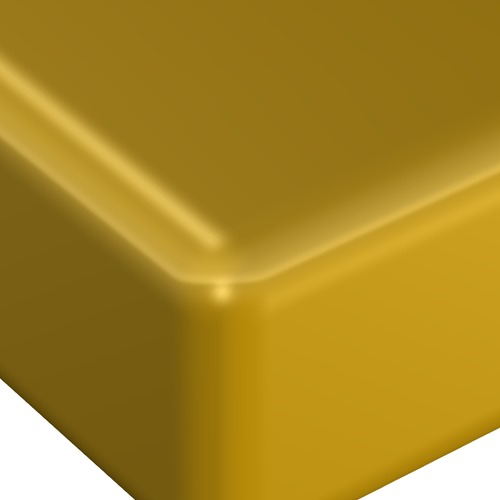
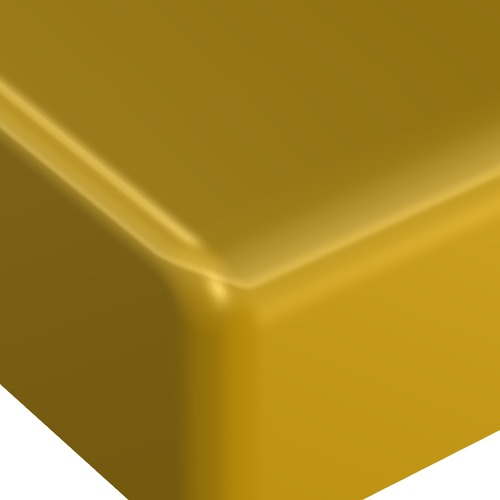
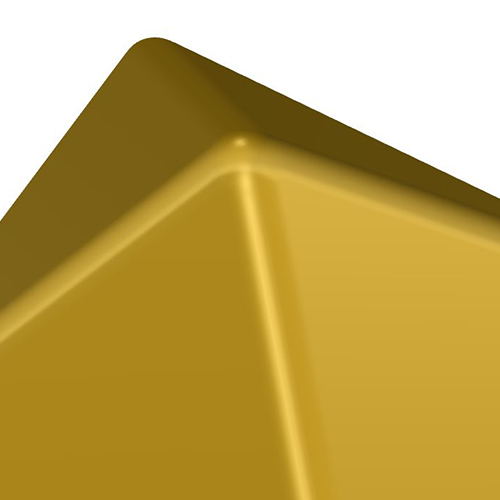


A box corner always has three edges meeting at right angles. A pyramid's apex has four+ edges meeting at steep, uneven angles, and that's where most blend tools give up or leave a lump.
G2Blend rounds the apex with one smooth cap that meets every blend with full curvature continuity, and it does the same at the base corners and at the octahedron's points.
Models often arrive with circular fillets already on them. Pick a filleted edge in G2Blend and the fillet is replaced by a G2 blend of the same size.
The result is identical to blending the sharp edge directly, so there's no need to undo the fillet first.
With traditional filleting, the order of operation matters: the bigger fillets first and smaller ones later. Adding a fillet too big or changing the size later often means starting over.
G2Blend remembers the sharp shape under every blend, so each run rebuilds from it. Pick an existing blend's edge, type a new size, and only that blend changes.
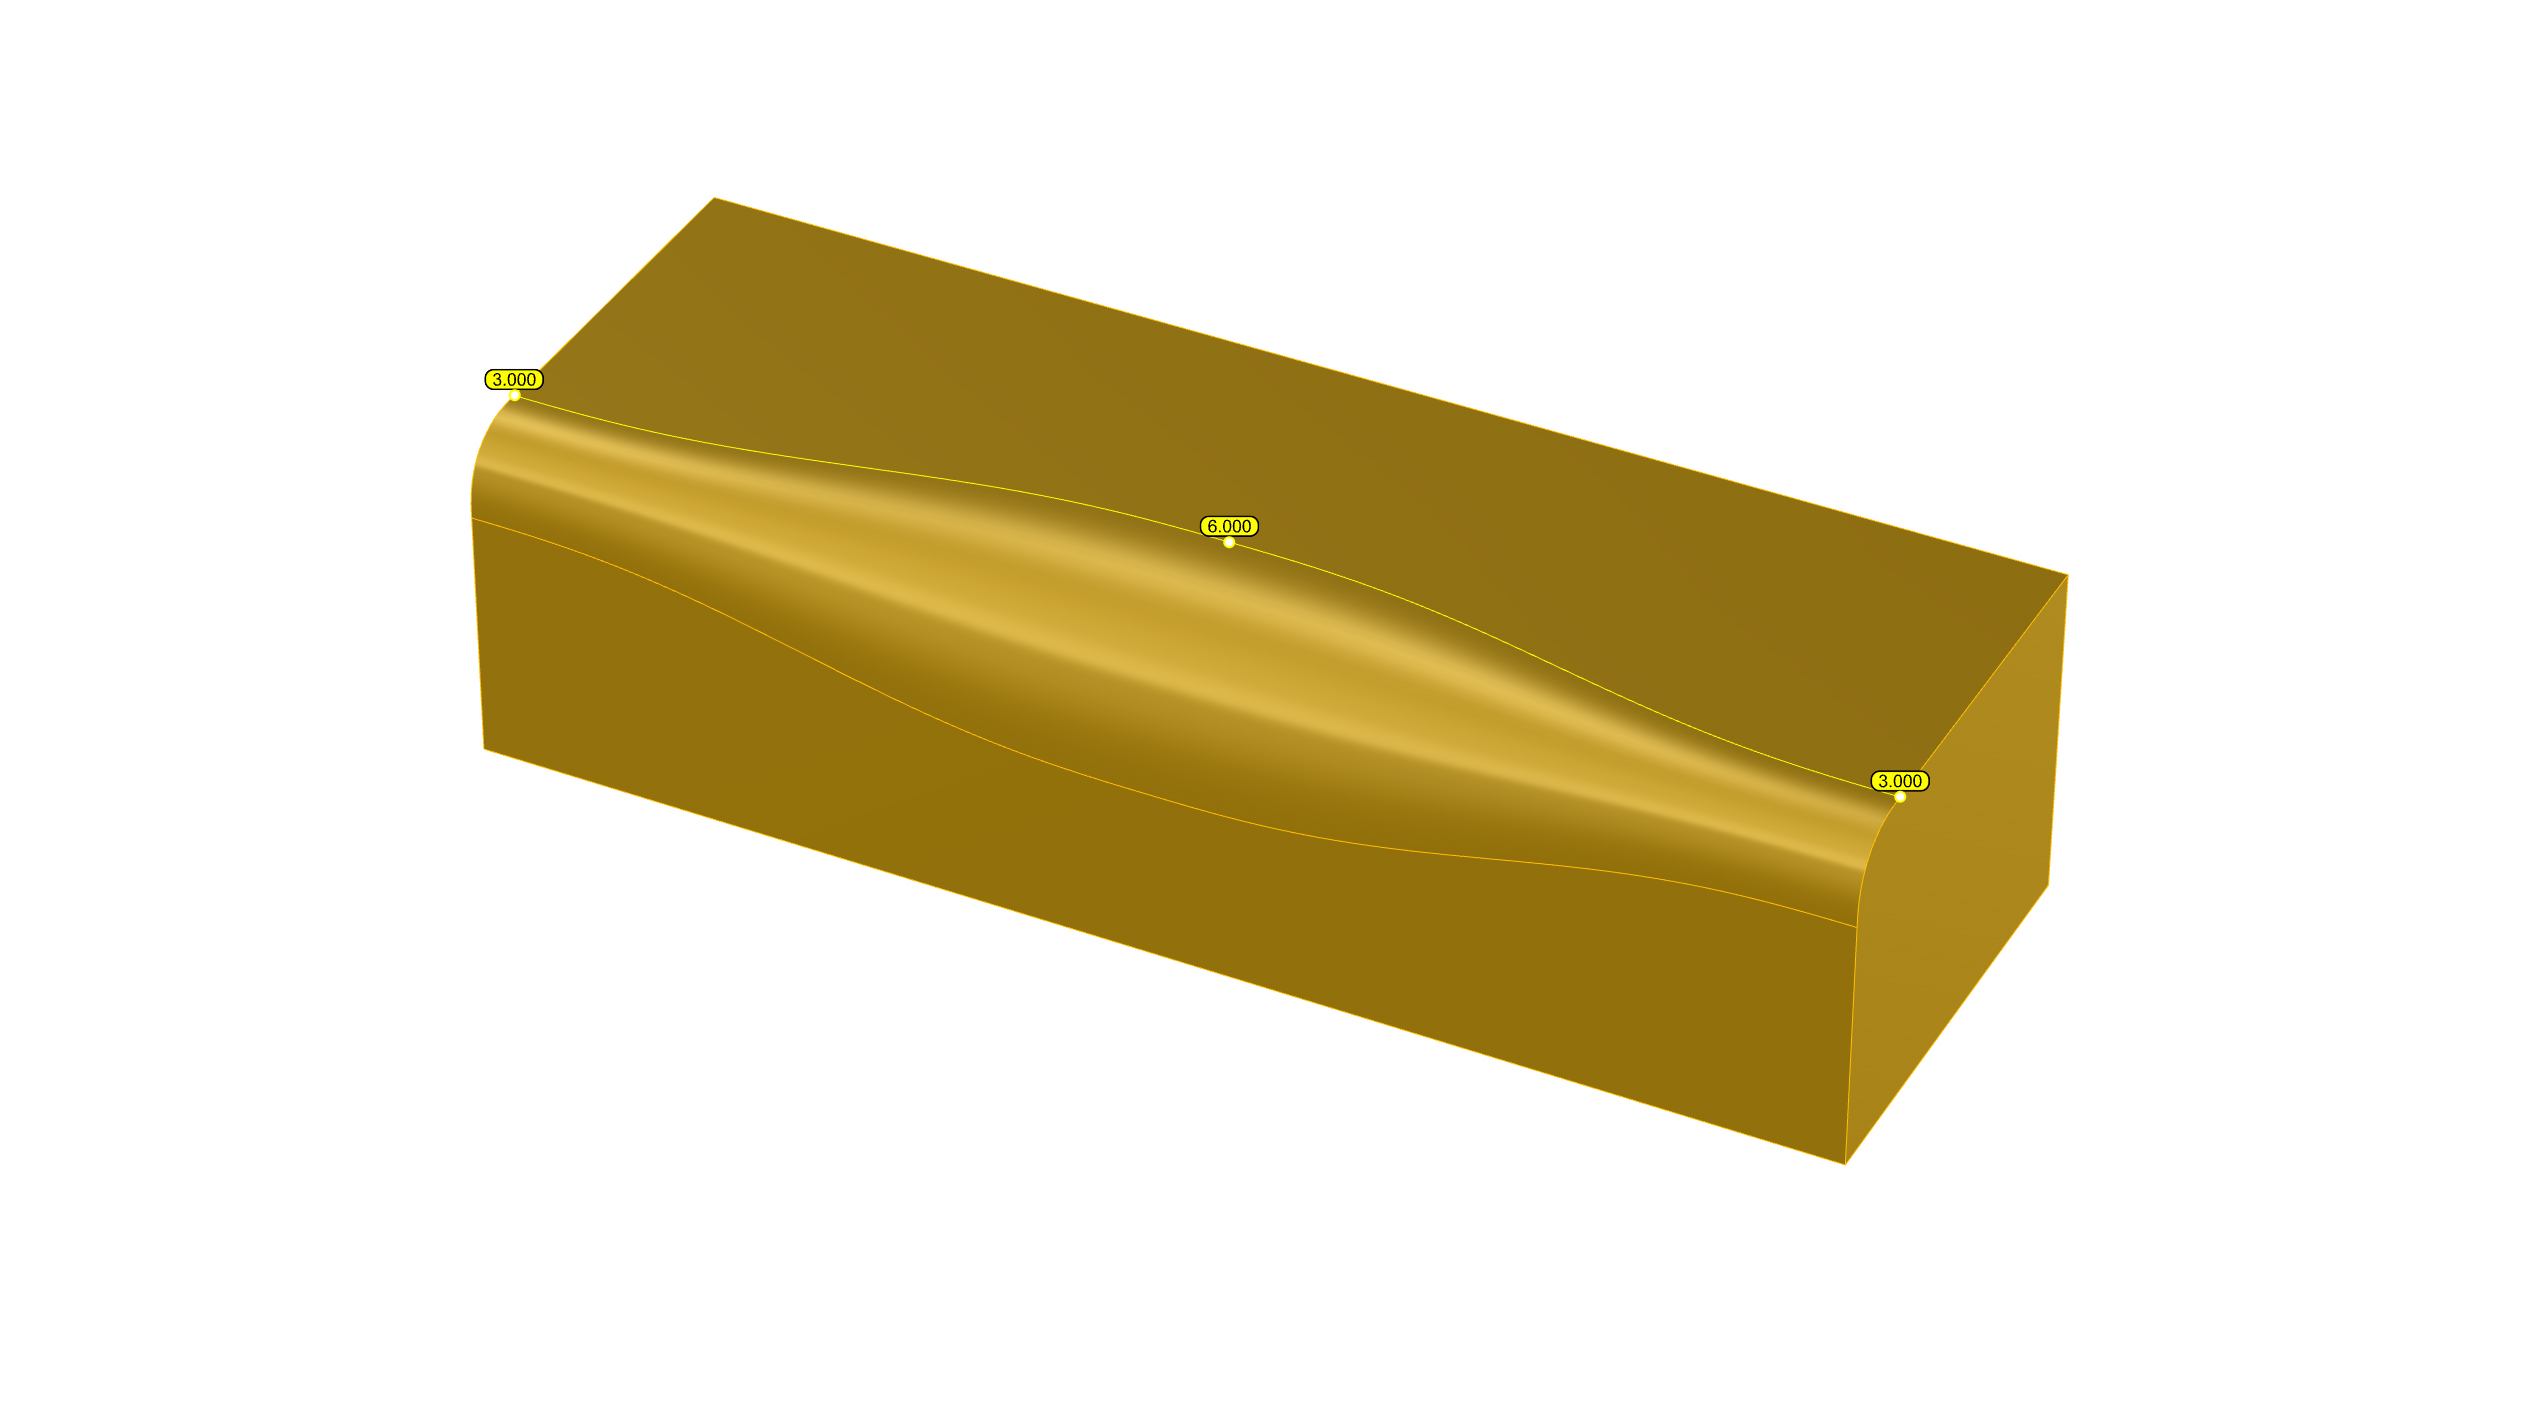
G2Blend's AddHandle feature works like FilletEdge's AddHandle.
Improvement: the handles are saved with the object after the command runs so the variable blend is editable in the future.
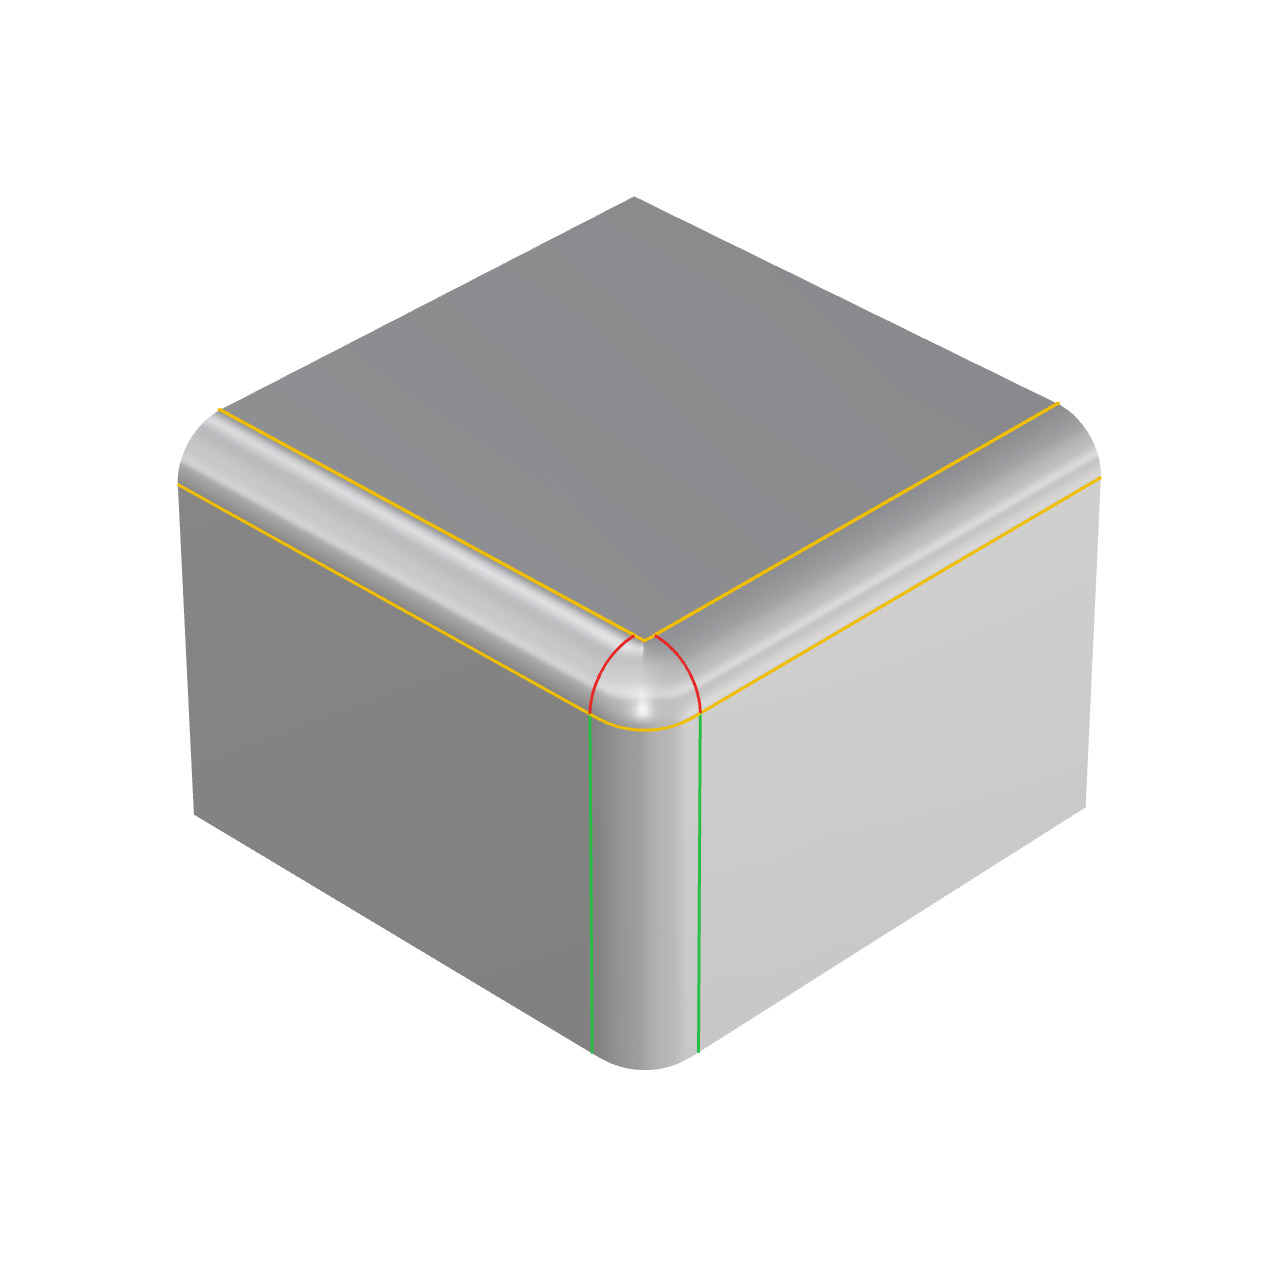
G2Check is a visual aid that helps the user judge continuity of a seam.
red: kink
yellow: tangent
green: curvature continuous
Edges that are meant to be sharp are not highlighted. This command only reads the model and changes nothing.
Blended models are hard to edit. G2EditSharp turns a blended object back into its sharp shape, so the user can push faces, taper or resize it with normal Rhino tools.
Run it again and the blends are rebuilt on the edited shape at their original sizes, handles included.
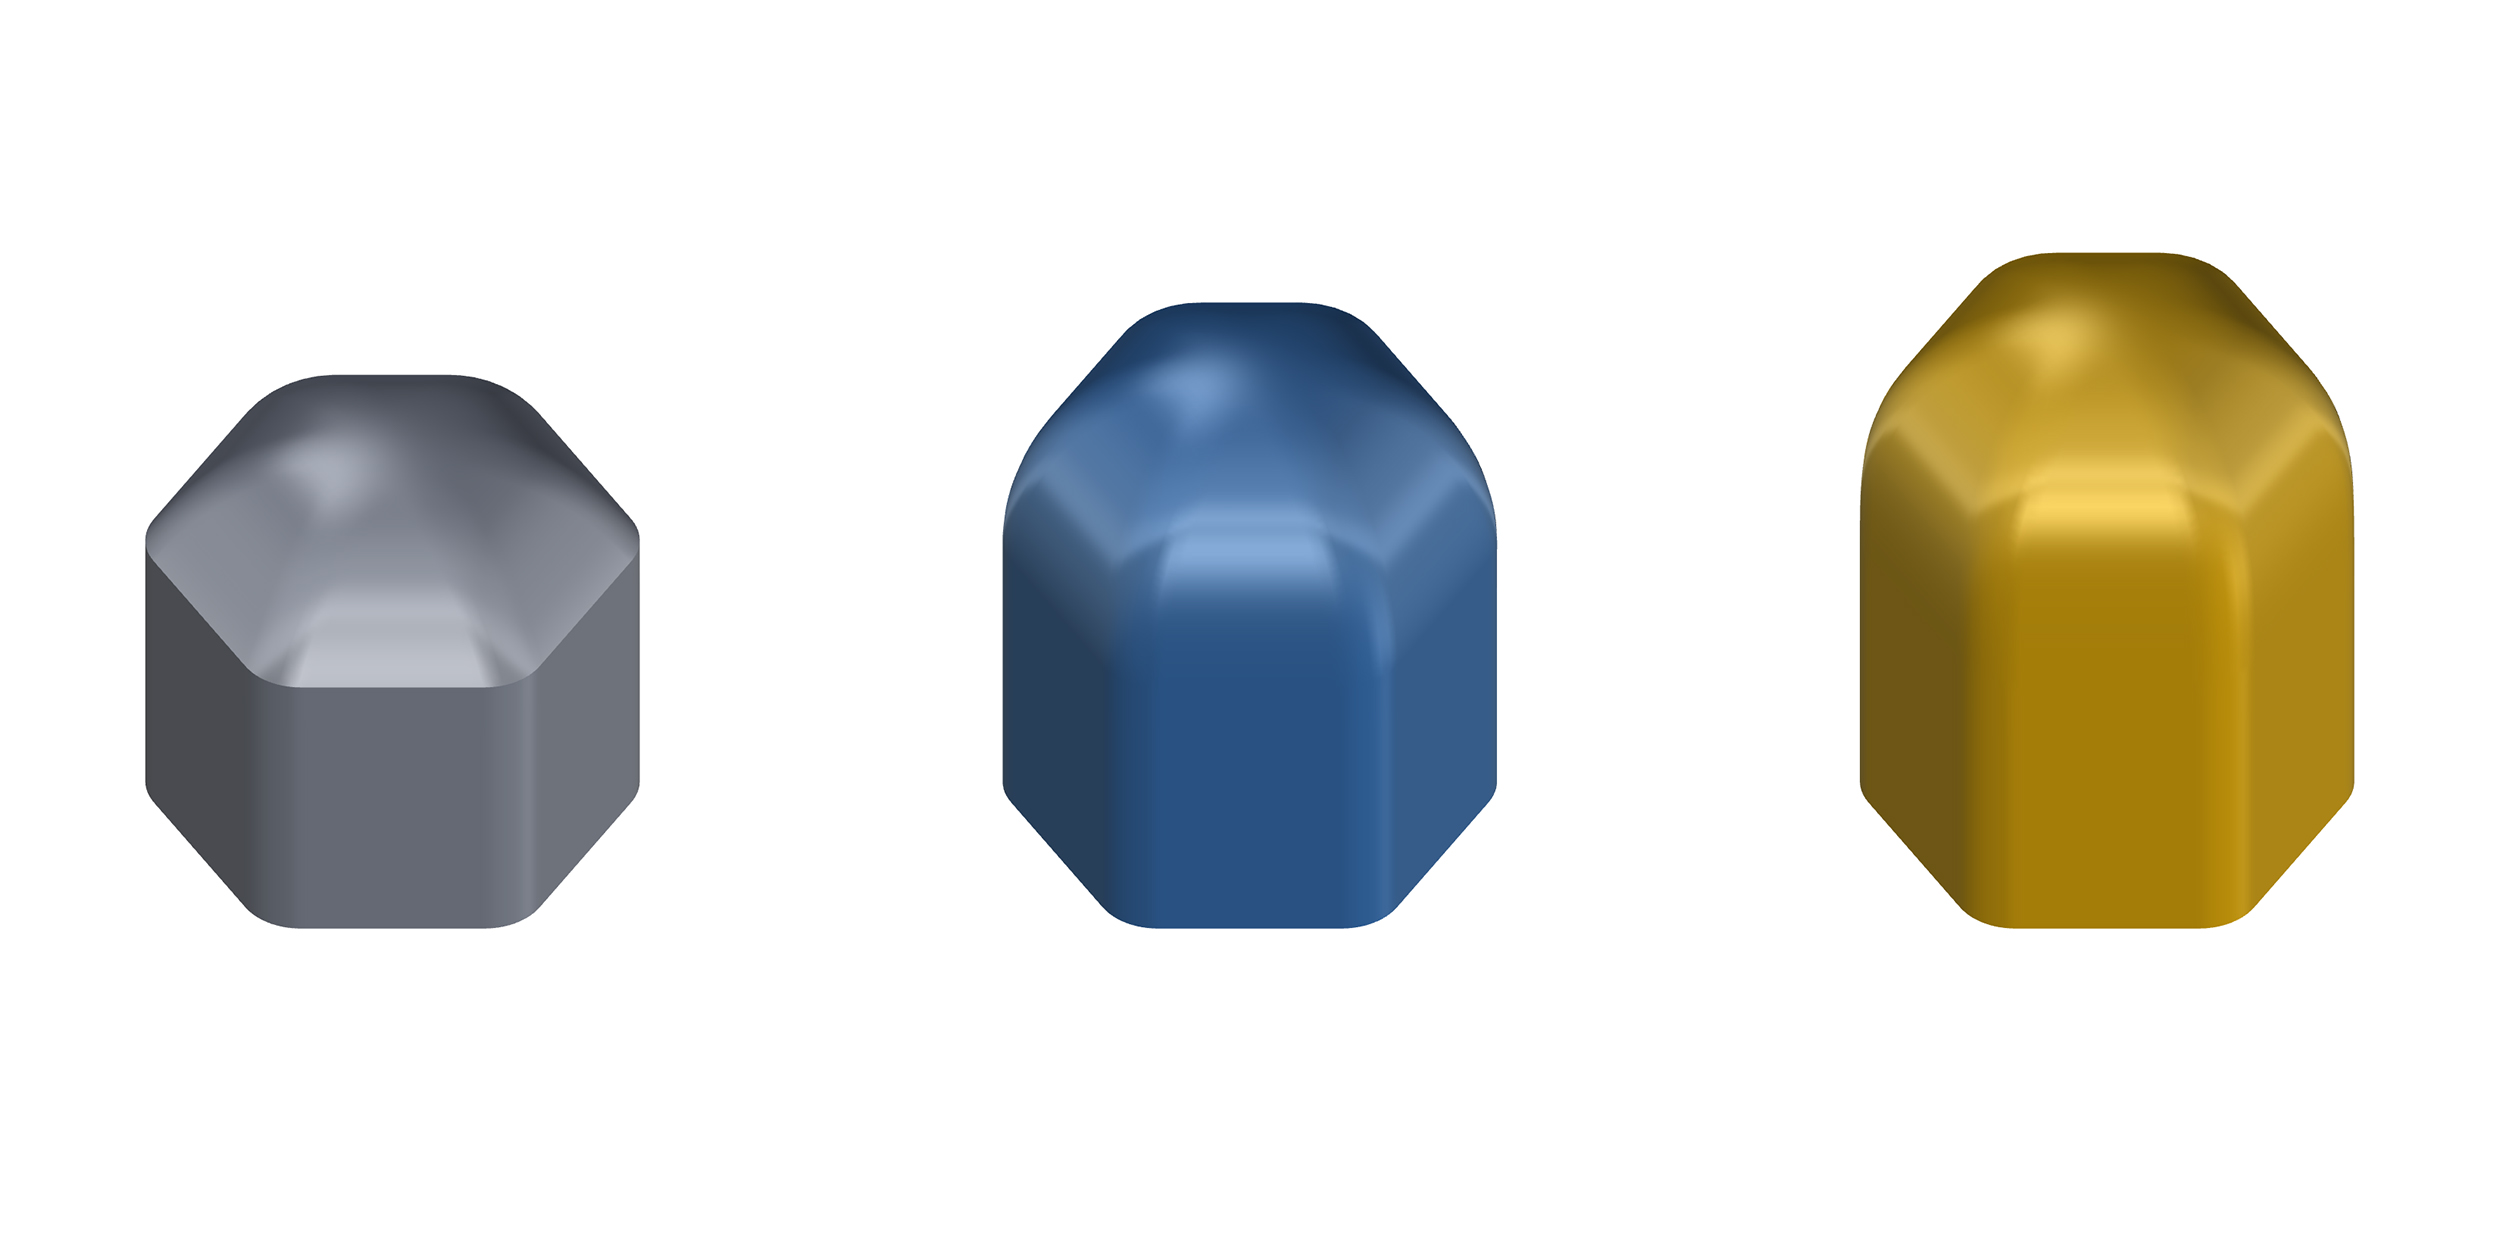
Closes an area (a face, an open edge loop, a closed curve, or a cone's tip) with a domed surface. Offers continuity and height options.
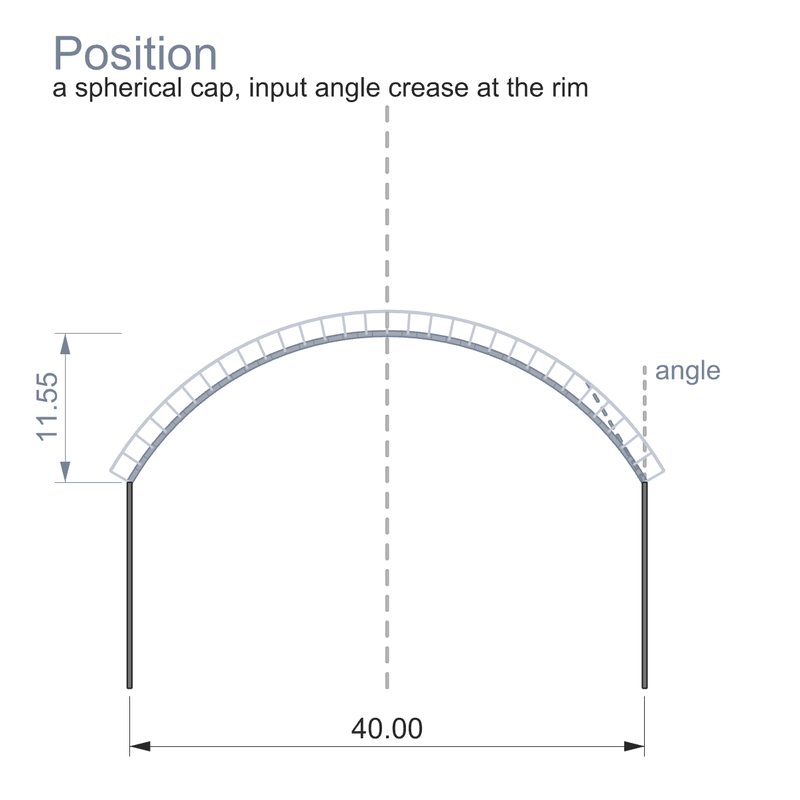
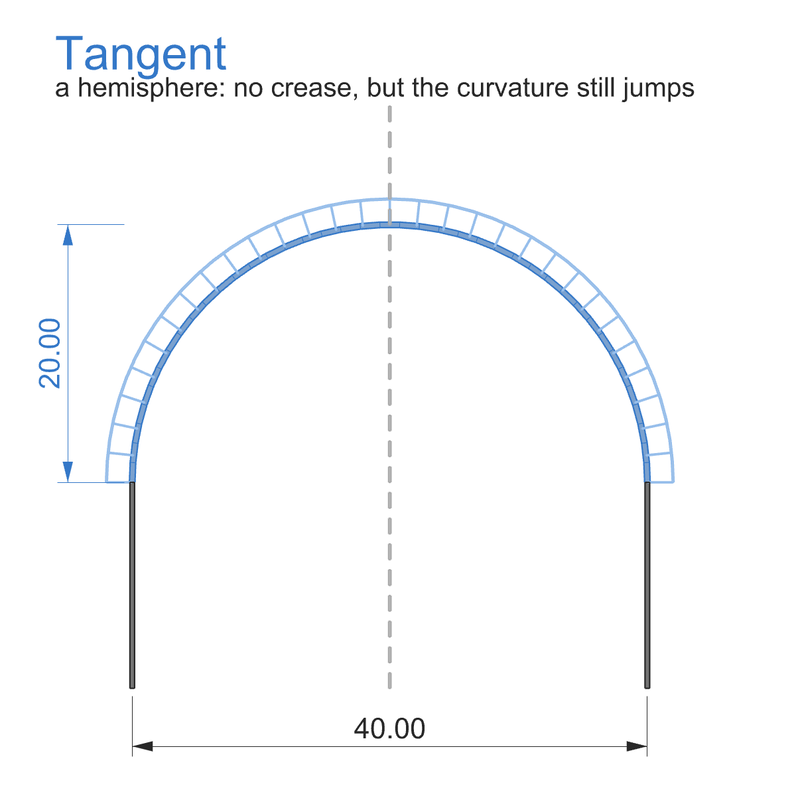

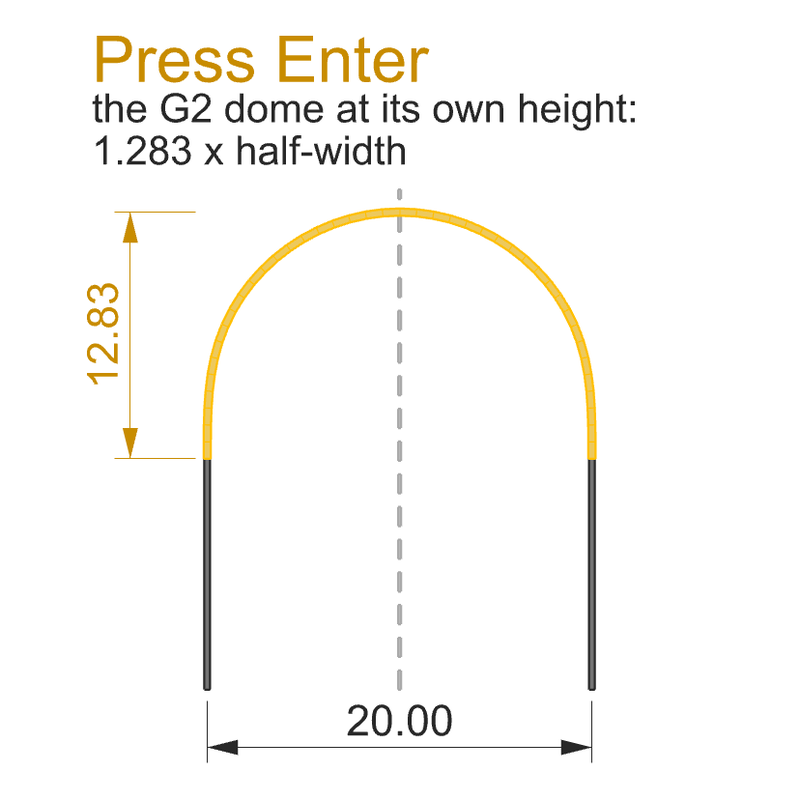
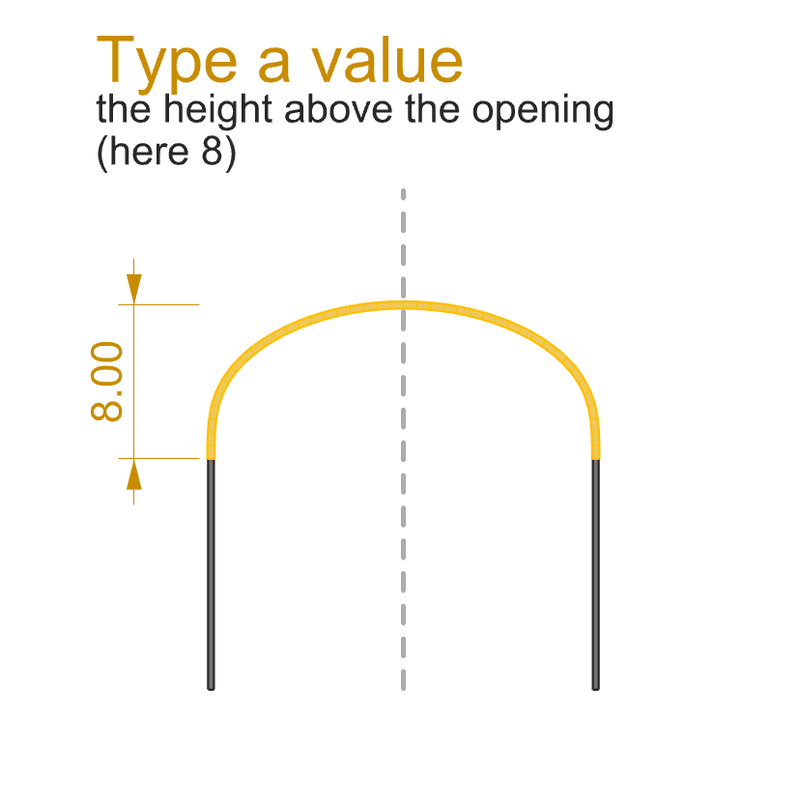
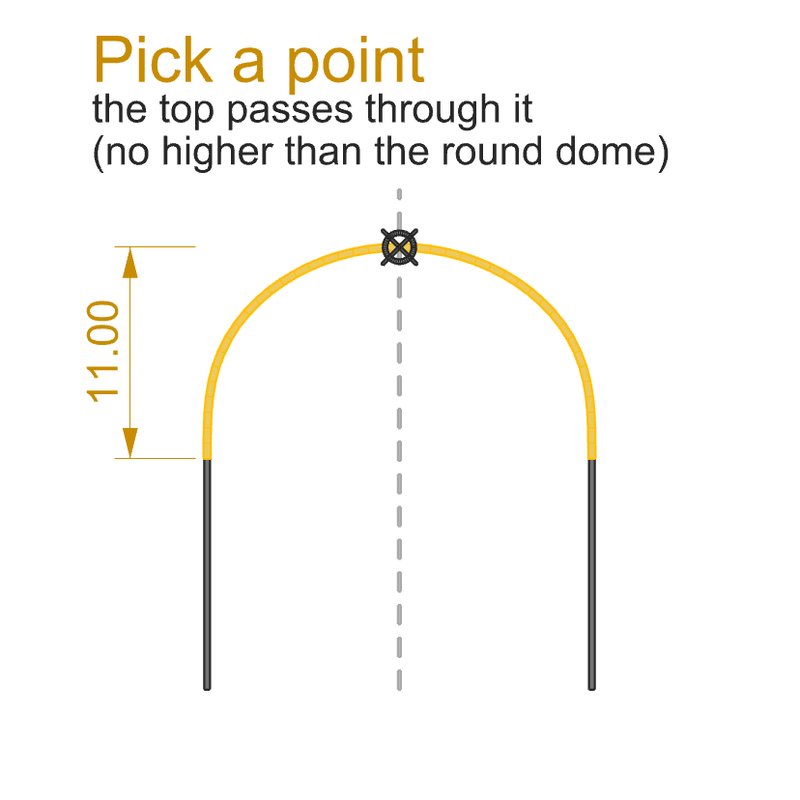
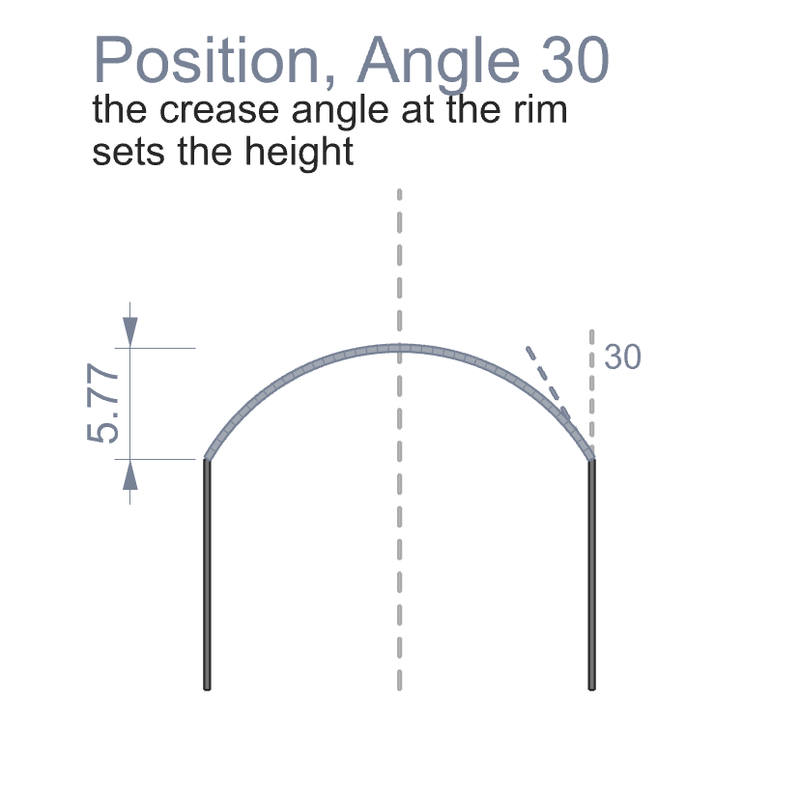
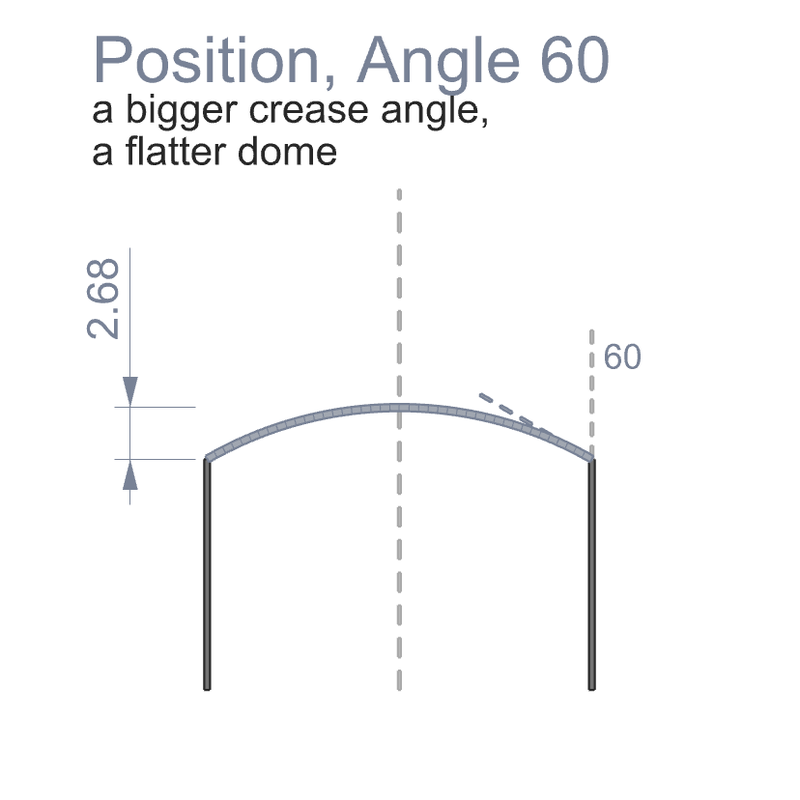
After the user picks the opening, Dome asks for the height. A G2 dome is never made taller than its roundest shape, and the height can be set in 4 ways.
No input: As "dome-like" as possible. For cones, quarter of its height.
Value: Height above the opening. For cones, how much below the tip.
Point: Point object above the opening. The tip of the dome is always centered.
Angle (Position continuity option only): Height value is redundant here.
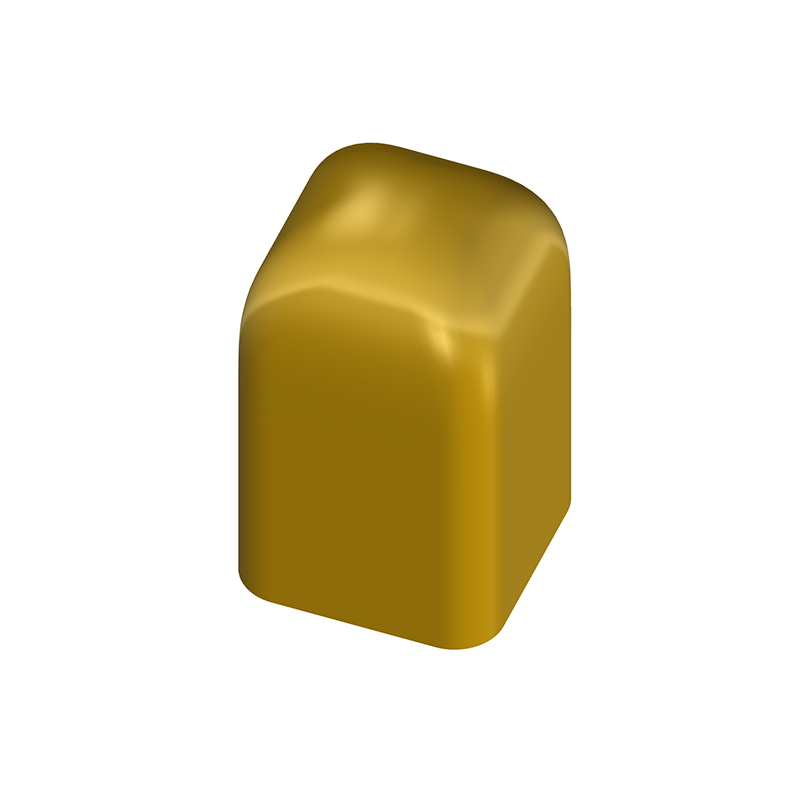
A round-ish opening is easy. Real shapes could have straight sides and corners, and each new shape taught a rule:
Input: Dome does not allow for input with kinks or sharp corners.
Top shape: Dome is always convex and does not allow for pinched tops.
Corner: Corner highlights run straight up to the top and do not flare.
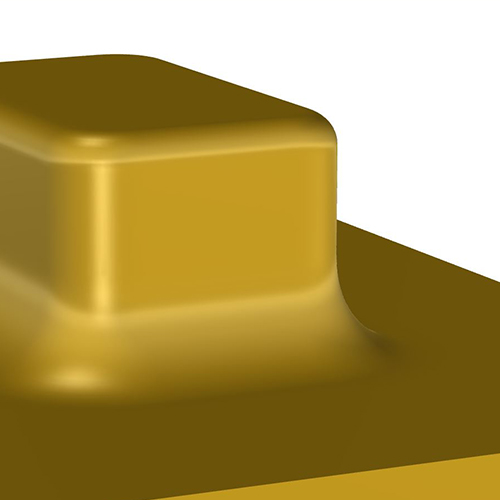
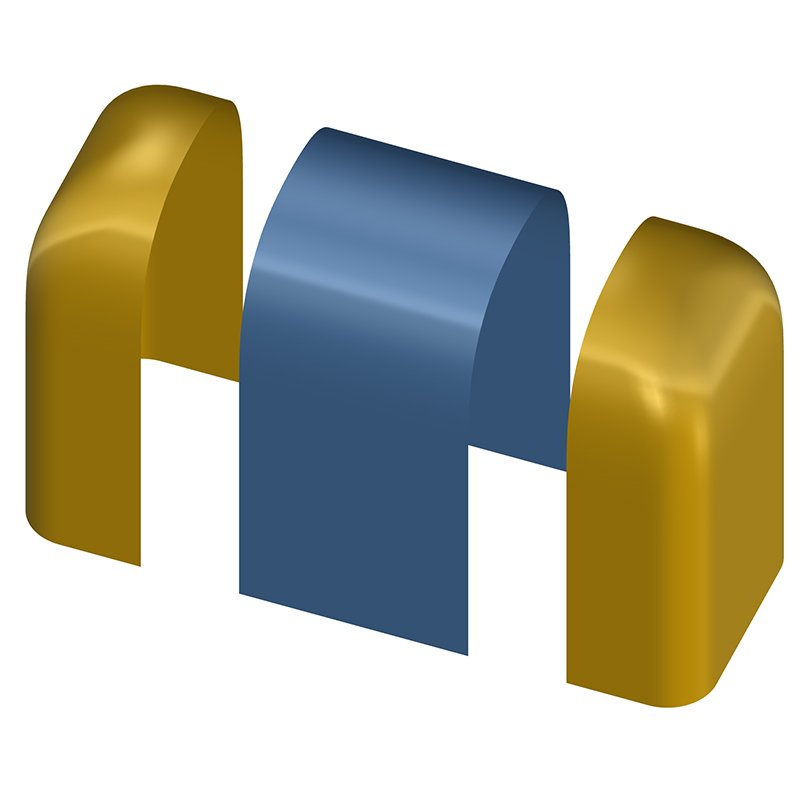
Shapes with extruded middle section: The ends are domed and the in-between section is lofted automatically (see image above).